Motivation
I stumbled upon the amazing PrePoMax open source software and decided to give it a try. It was a fun experience as the software provides tools worth of fully fledged professional software with a stunning simple and intuitive user interface (ok maybe I’m a little baised here as I’ve been working with different FEM tools for some years now and I’m starting to get the hand of it).
The interesting give away here is the reasoning path I followed in order to test the different features and the observations on the Finite Element Model itself.
Context
I love open source software, it’s such a delight to see that there are people out there willing to give their hard work for the whole humanity to enjoy and take advantage of.
The thing that I love the most is that in most cases such software are exactly the way I want them to be:
- full control of the behind the scenes and math
- command line tools available
- an intuitive interface (most of the time)
PrePoMax is such a great example of this principles. The software in itself is a graphical interface for the Calculix solver and this is a great advantage: the interface looks and feels modern while the solver itself has been written in the end of the 90’s in C and Fortran. It’s just like working with Abaqus or Ansys!
The “only” problem with open source software (expecially the ones intended for structural verification) is that there is no warranty that the results obtained are actually good.
Well, there is no such thing as certainty also with professional 100000-€-euros-a-year-license software. That’s why engineers still have jobs: despite their own attempts to make the craft easier with software, in the end these are only sophisticated decision making tools, and the decision is always the engineer responsability.
With this spirit in mind let’s start testing PrePoMax!
Start simple and build upon it
Where to start? It is always a good idea to keep in mind the end goal and go step-by-step towards it, that’s why the test roadmap is:
- small strain linear elasticity displacement driven
- small strain linear elasticity force driven
- small strain plasticity
- large strain plasticity
This path has an increasing complexity and allows to compare hypothesis and expectations with the software results. Speaking about expectations what case study is better to run? I could say the best case study is the simplest: one finite element cube. Well I’m a bit sick of simulations on one element because of my job in constitutive models so let’s scrap this idea and go for the real thing: a sheet metal bracket.
This is not even actually a bad idea cause I used to work in the sheet metal industry and I have some idea of how such a piece behaves in reality (now I’m nervous cause whatever mistake I make you are allowed by what I said to think I have no clue of what I’m doing).
Small strain linear elasticity displacement driven
-
Create the model geometry in some CAD, for this test I designed a little bracket with two asymmetrical slots and two holes for the [connection with another piece](link to part two)
-
Export the external (or internal, your choice here, just be consistent) surface of the sheet metal part, our model is going to be a shell one
-
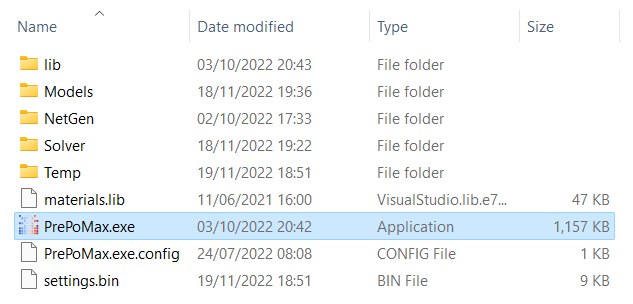
Lunch the program by running the executable (no installation required, such a beauty!)
-
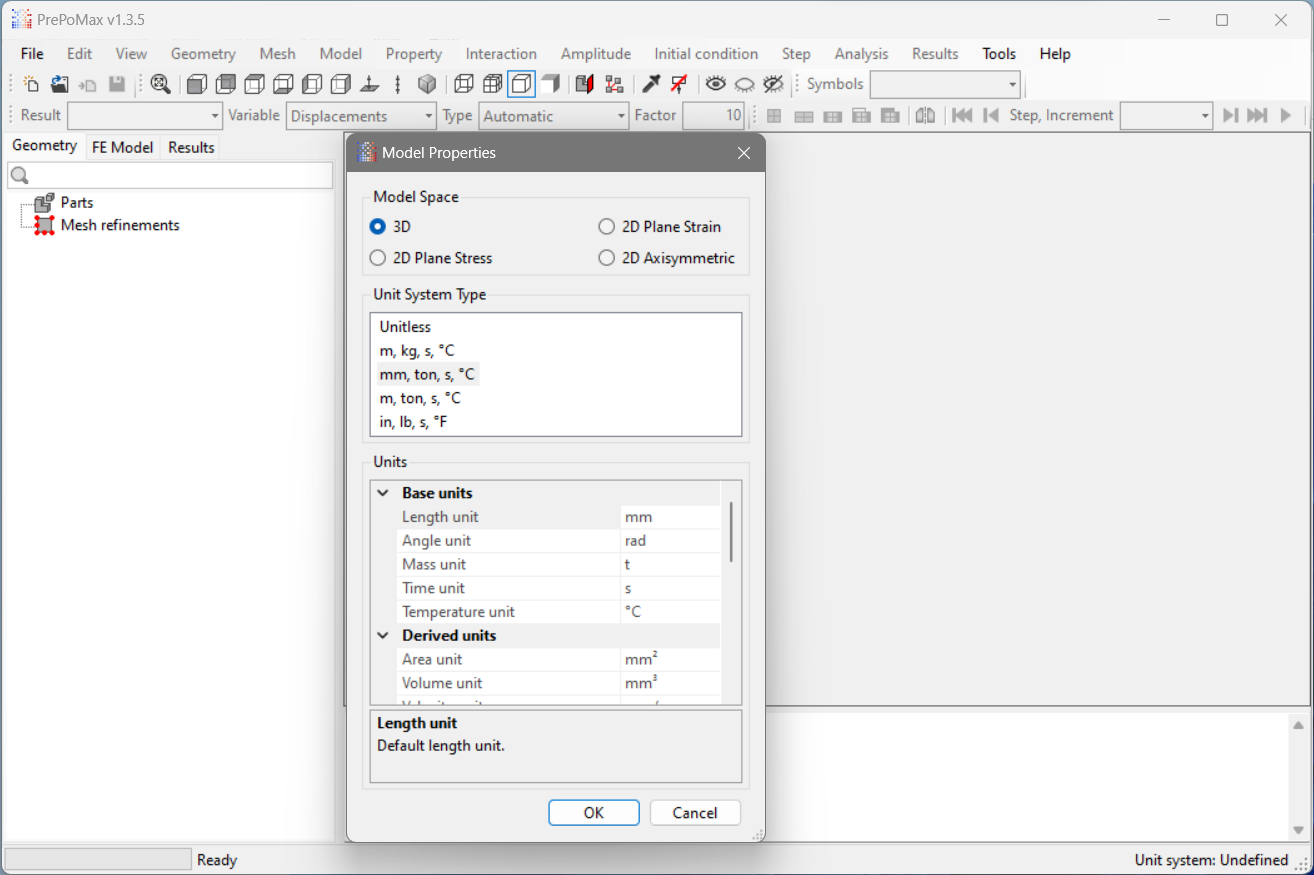
Create a new model specifying the units
 |
 |
|---|---|
| Lunch the program | Create a new model specifying the units |
-
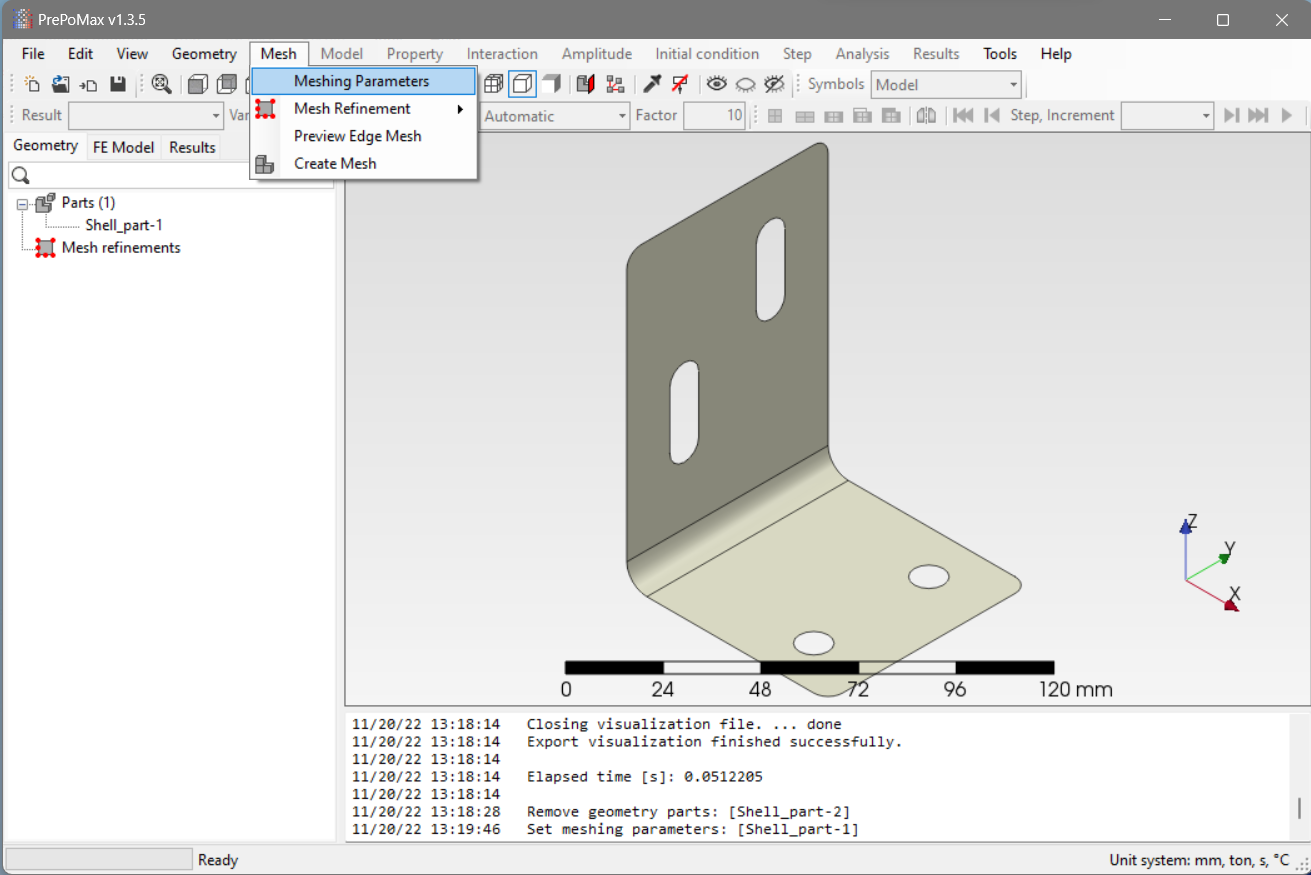
Import the geometry
-
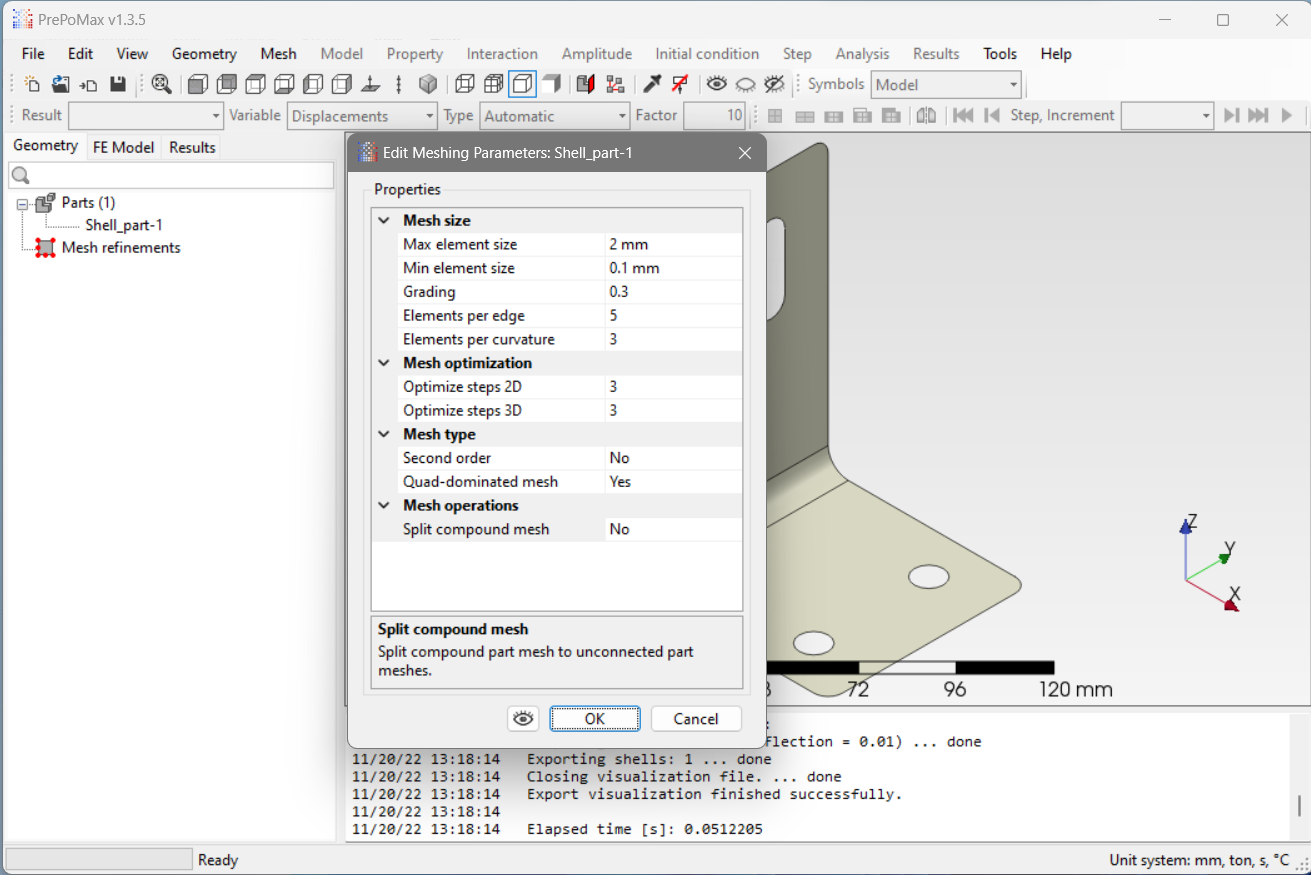
Set the parameters for meshing
 |
 |
|---|---|
| Import the geometry | Set the parameters for meshing |
- Take a look at the surface normals. This is not actually that important when dealing with a single part but better to maintain the habit for the more complex cases.
 |
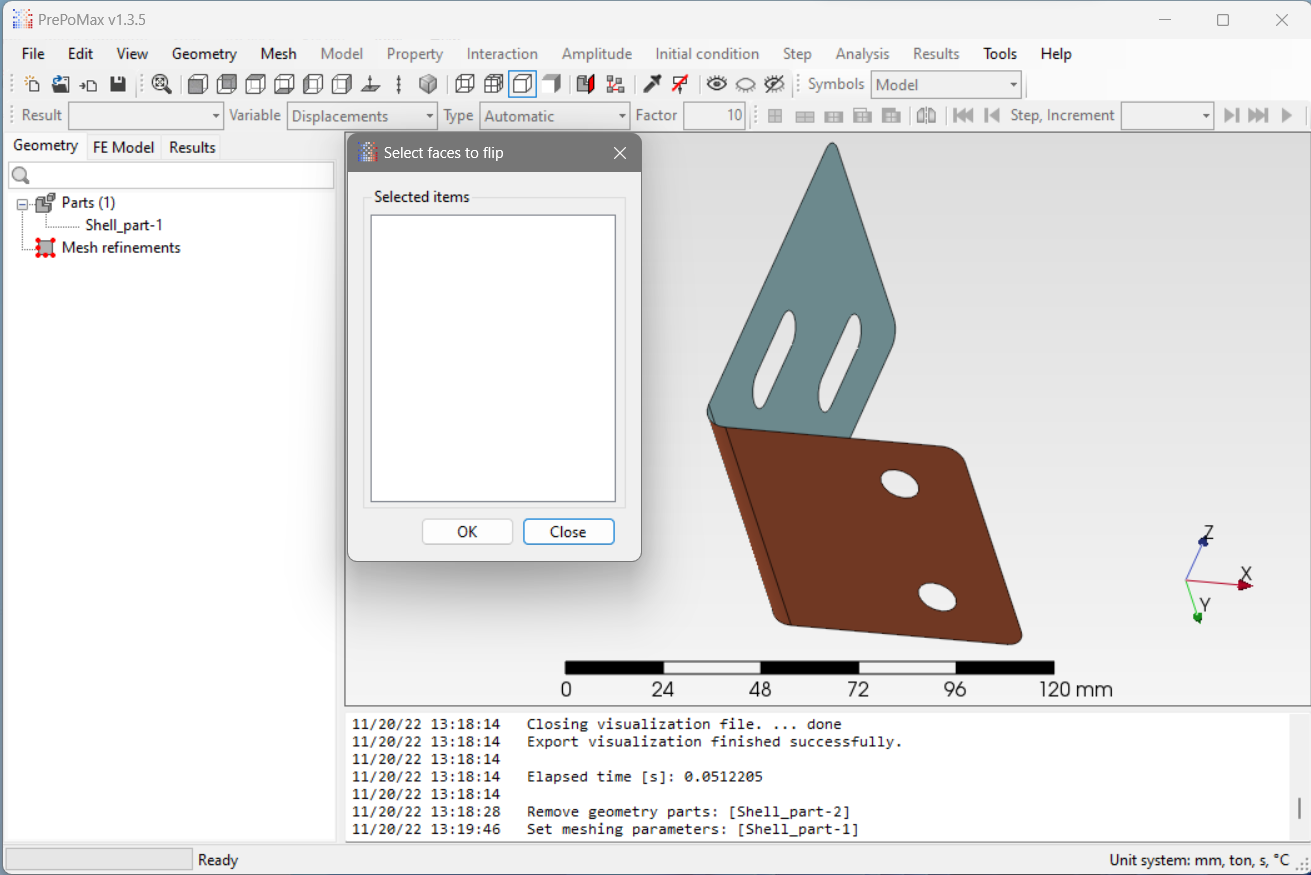 |
|---|---|
| Surface normal setting | Surface normal visualization |
- Create the mesh, you are ready to go to the FE model tab!
 |
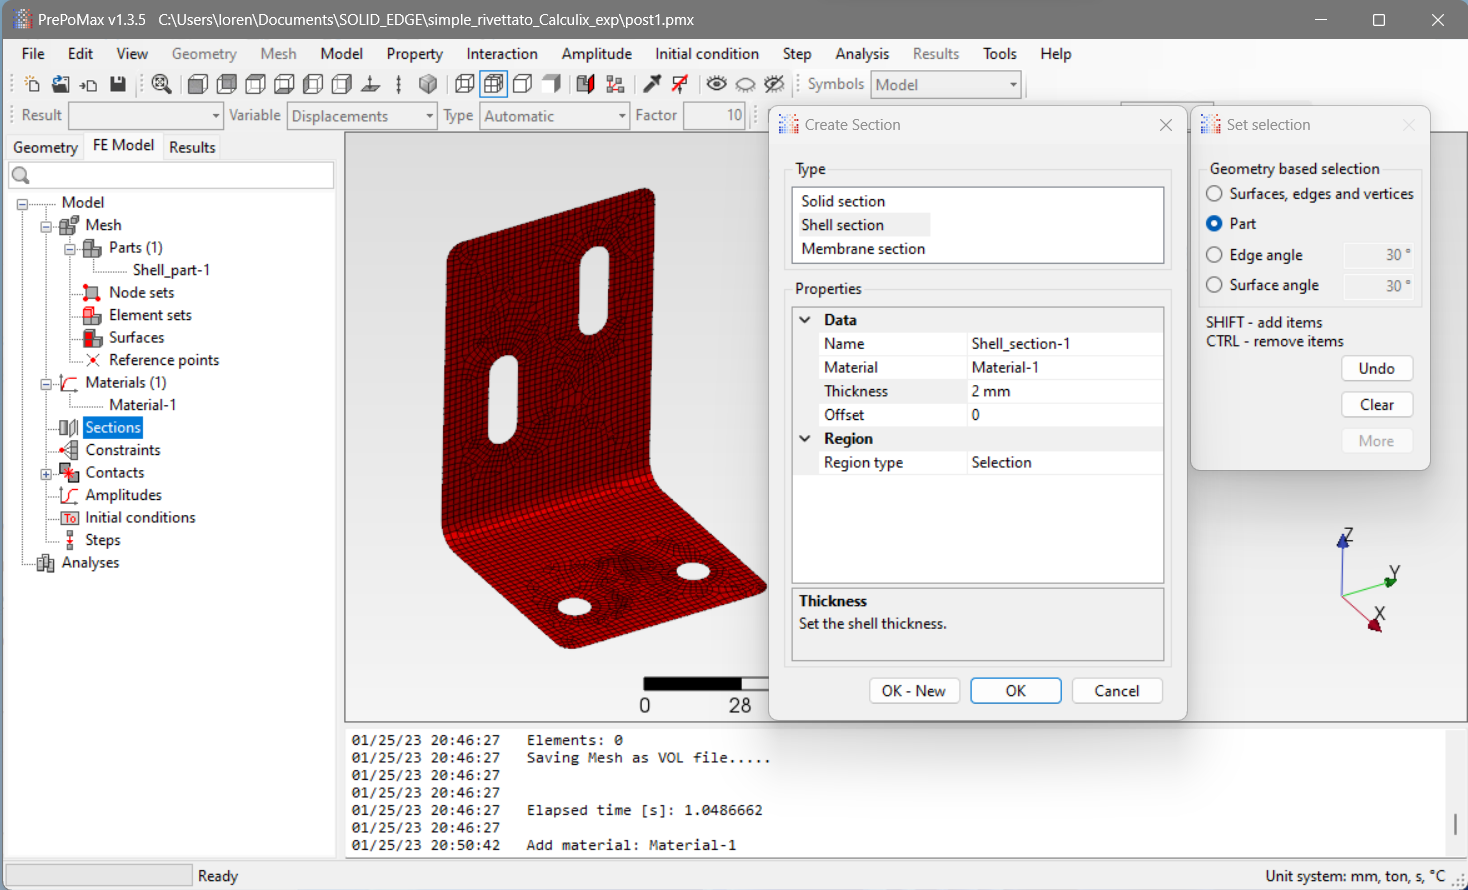 |
|---|---|
| Material setting | Section setting |
- Define the load the model is subjected to
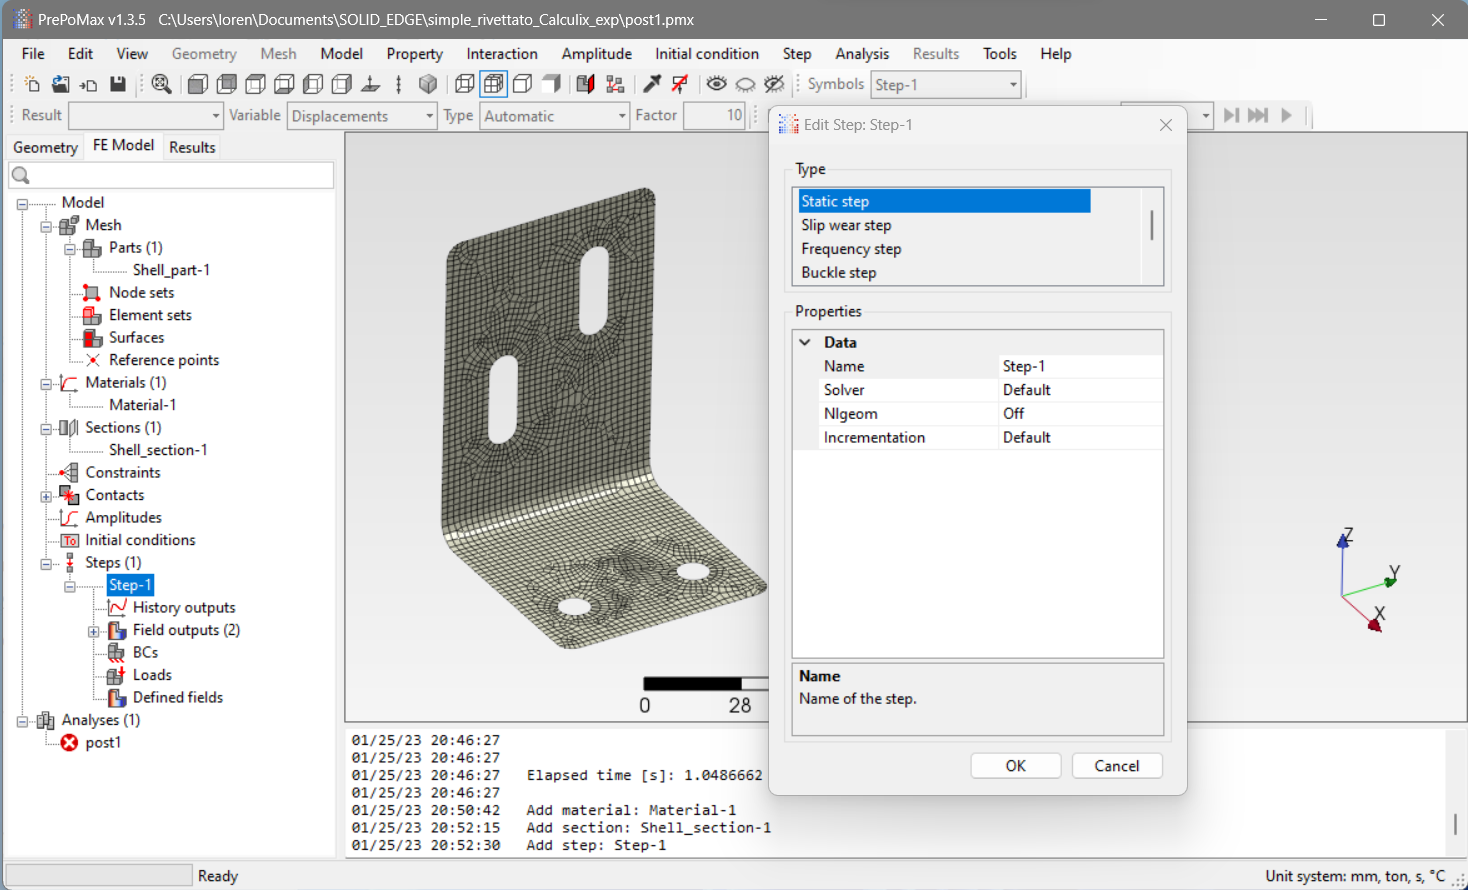 |
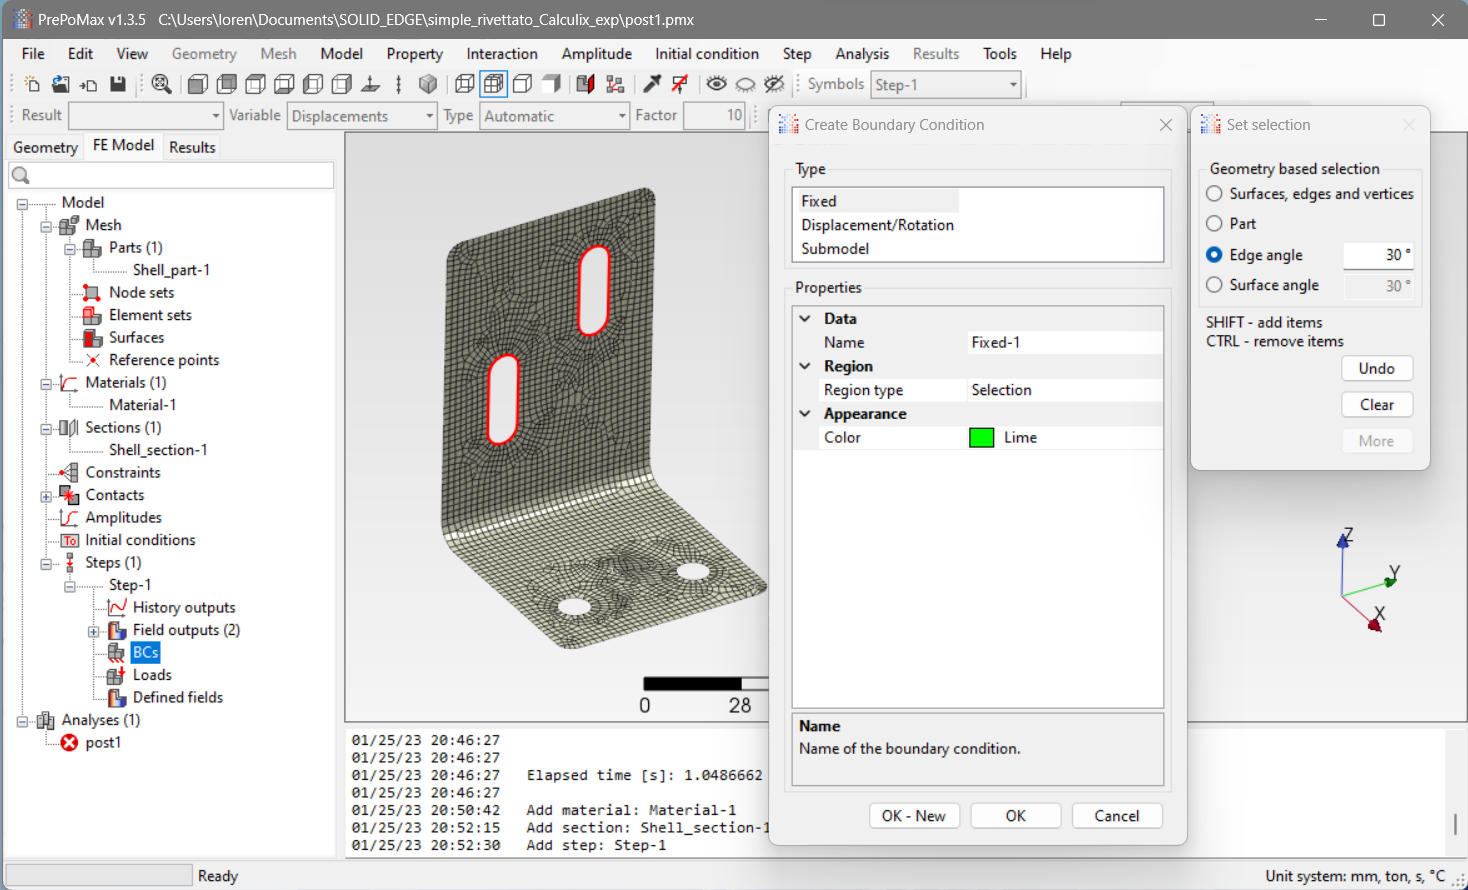 |
|---|---|
| Step Creation | BC & Load definition |
- Run the simulation and enjoy one of the best FEA engineer joys, convergence! Wait there is no even convergence in this case, that’s why it was so easy!
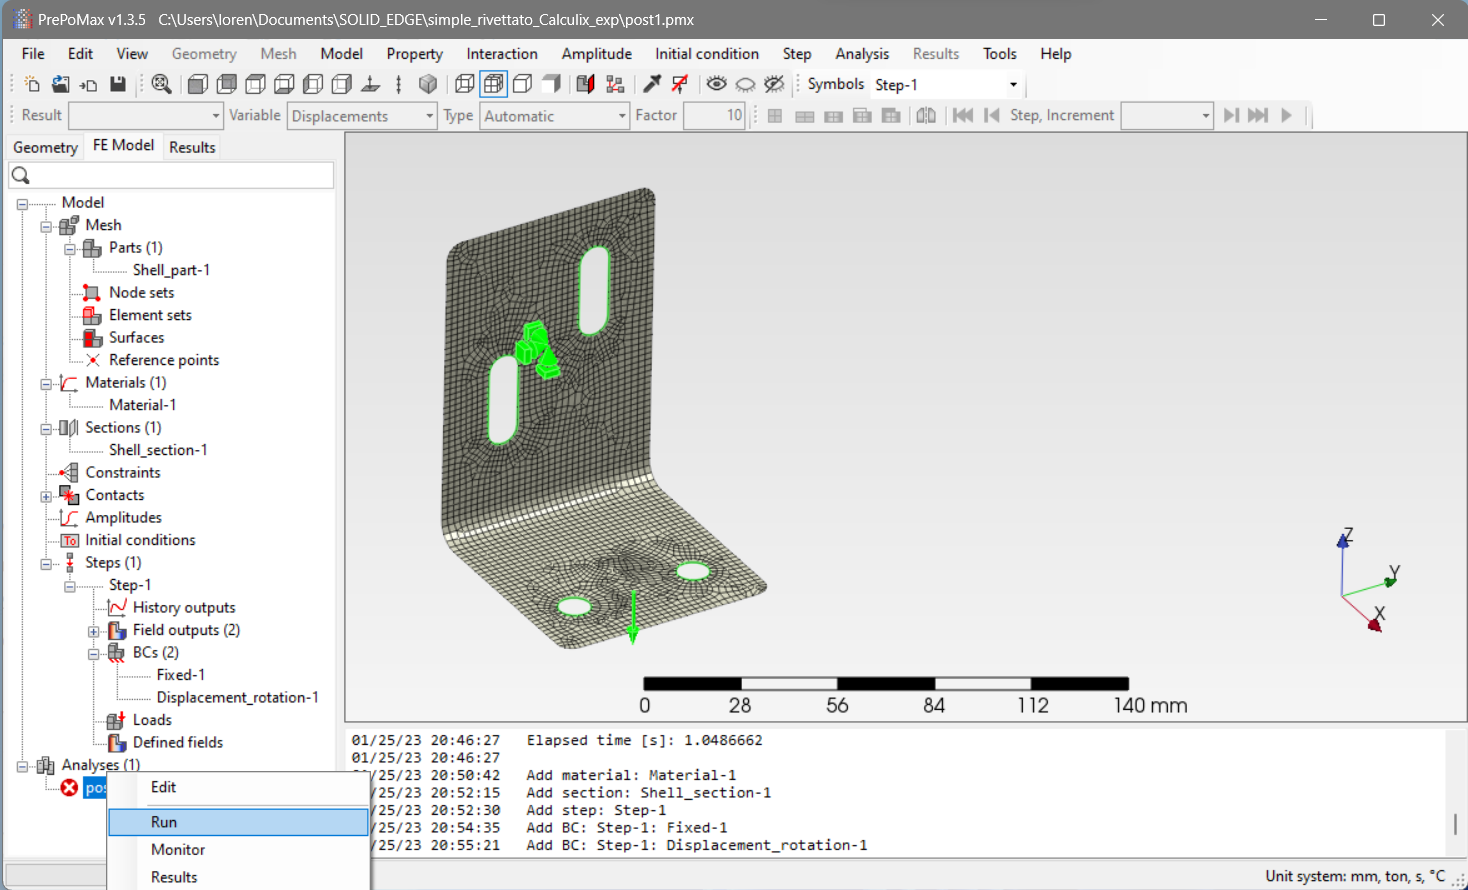 |
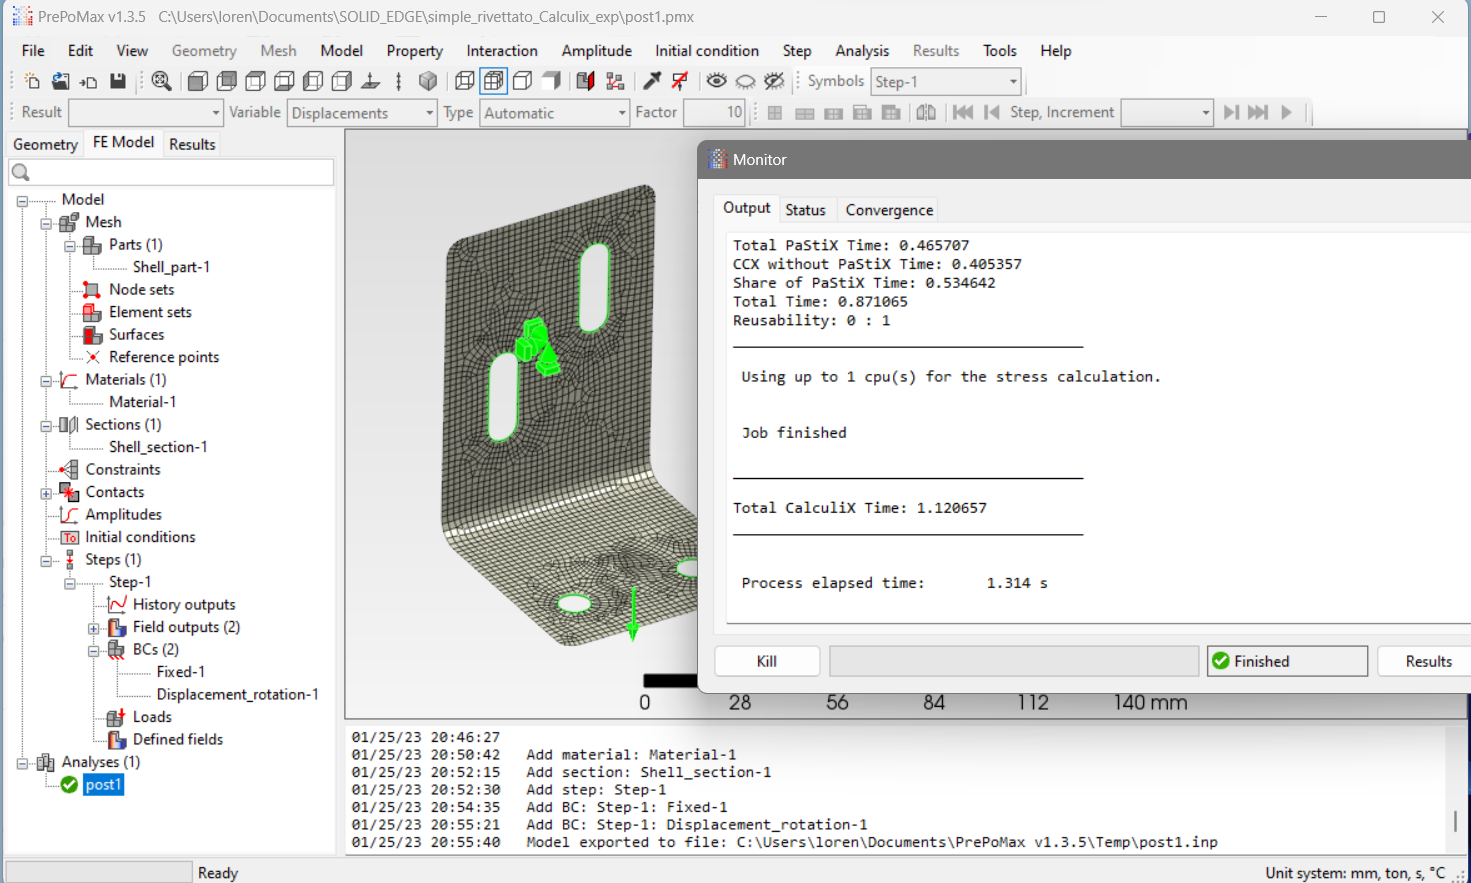 |
|---|---|
| Run simulation | Monitor the results |
Interesting observations to do on a simple model
This simulation was even too easy but that’s the beauty of using such high-level software for FEA. Long gone are the days in which a FEA engineer had to tweak script files and deal with computer code! (Or are they? Actually I would be jobless if those days were really gone!)
A basic principle in engineering and life itself is to take baby steps, starting from this simulation is relatively straightforward to progress towards a complex case adding a complexity level at a time, here are some fun observations to experience on the process:
- Convergence with Force driven simulations is always slower than displacement driven ones
- This is because of the Newton-Raphson scheme functioning
- The material model really makes a difference:
-
testing the geometry with a load compatible with the actual size and material (or better to say the “desired” material) it is immediately noticible that something is wrong.
“Wait how can it be that the piece entirely fails with so little displacement or force??? This can’t possibly be realistic”
-
Of course it is not realistic unless you account for the right material model, just introduce plasticity with stress-strain tabular values and everything starts to make some sense
-
- Surfaces and surface normals are way more tricky then what you think
That’s it! Let’s thank Guido Dhondt for the time spent developing Calculix and Matej Borovinšek for bringing us the amazing PrePoMax!